Setting up NVIDIA and CUDA Environment
This document describes how to use ocboot's setup-ai-env command to configure NVIDIA drivers, CUDA, containerd, and other AI runtime environments on an existing cluster or standalone machine, without deploying or modifying Cloudpods cloud management services. This applies to scenarios that require GPU-dependent AI container applications such as vLLM and SGLang.
- If the target environment does not have an Nvidia GPU, or you do not need to run GPU-dependent container AI applications like vLLM or SGLang, you can skip this document.
- Without the Nvidia runtime environment configured, you can still run AI container applications that do not depend on GPU, such as OpenClaw and Dify.
Download Driver Files
Download and prepare the NVIDIA driver and CUDA installation packages (example: CUDA 13.0.3; adjust for your GPU and compatibility). Use .run packages:
- NVIDIA driver: NVIDIA Driver Downloads (example filename:
NVIDIA-Linux-x86_64-580.173.02.run). - CUDA toolkit: NVIDIA CUDA Toolkit Downloads (example filename:
cuda_13.0.3_580.126.20_linux.run).
Transfer the packages to the ocboot code directory on the machine that runs ocboot.sh.
The NVIDIA driver and CUDA installer packages must be placed in the ocboot code directory. ocboot.sh runs deployment inside a buildah container; other host paths are not mapped in. Inside the container the path is /ocboot/<filename>.
If the packages are on another machine, copy them to the ocboot code directory on the target host (replace with your actual path):
# Using rsync (recommended)
rsync -avP /path/to/nvidia/NVIDIA-Linux-x86_64-580.173.02.run target_host:/path/to/ocboot/
rsync -avP /path/to/cuda/cuda_13.0.3_580.126.20_linux.run target_host:/path/to/ocboot/
Command Format
Run ocboot.sh setup-ai-env to set up the nvidia container runtime on the target machine.
./ocboot.sh setup-ai-env <target_host1> [target_host2 ...] \
  --nvidia-driver-installer-path ./<driver_file>.run \
  --cuda-installer-path ./<cuda_file>.run \
  [--gpu-device-virtual-number 2] [--user USER] [--key-file KEY] [--port PORT]
Examples
Run from the ocboot code directory (<target_host> is the target IP; for a single-node deploy, use the local IP):
- After setup finishes, the target host usually reboots once to load the new driver and GRUB configuration. This is expected.
- If nouveau is still using the GPU, the host may reboot once earlier before installing the NVIDIA driver.
- Do not interrupt the process during reboot. If installation is incomplete after reboot, re-run the same
setup-ai-envcommand until all steps finish.
# Basic usage
./ocboot.sh setup-ai-env <target_host> \
  --nvidia-driver-installer-path ./NVIDIA-Linux-x86_64-580.173.02.run \
  --cuda-installer-path ./cuda_13.0.3_580.126.20_linux.run

# Specify GPU share virtual number (NVIDIA_GPU_SHARE) and SSH options; omit to use HAMi by default
./ocboot.sh setup-ai-env <target_host> \
  --nvidia-driver-installer-path ./NVIDIA-Linux-x86_64-580.173.02.run \
  --cuda-installer-path ./cuda_13.0.3_580.126.20_linux.run \
  --gpu-device-virtual-number 2 \
  --user admin \
  --port 2222
Parameter Reference
| Parameter | Required | Default | Description |
|---|---|---|---|
--nvidia-driver-installer-path | Yes | - | Full path to the NVIDIA driver installation package. |
--cuda-installer-path | Yes | - | Full path to the CUDA installation package. |
--gpu-device-virtual-number | No | none (HAMi by default) | When set, creates NVIDIA_GPU_SHARE virtual devices; when omitted, GPUs use HAMi. |
--user / -u | No | root | SSH username. |
--key-file / -k | No | - | SSH private key file path. |
--port / -p | No | 22 | SSH port. |
Installation Steps and Workflow
ocboot will perform the following steps (among others) on the target host:
- Check OS support and local installation files (if paths are specified)
- Configure GRUB (add nvidia-drm.modeset=1)
- Install kernel headers and development packages
- Clean up vfio-related configurations (if present)
- Install NVIDIA driver (if
--nvidia-driver-installer-pathis provided) - Install CUDA environment (if
--cuda-installer-pathis provided) - Install NVIDIA Container Toolkit
- Configure containerd runtime
- Configure host device mappings (only when
--gpu-device-virtual-numberis set: discover/dev/dri/renderD*and generateNVIDIA_GPU_SHAREconfig; otherwise HAMi is used by default) - Reboot if needed, then verify the installation
Verify the Driver
On the target host:
nvidia-smi
You should see the GPU model, driver version, and memory information. Confirm that the driver version matches the CUDA version.
Important Notes
- Ensure the target host has sufficient disk space and network connectivity to download dependencies such as the NVIDIA Container Toolkit.
- Prepare packages on the machine running ocboot, and transfer them to the ocboot code directory on the target before running the playbook.
- Ensure passwordless SSH login between the machine running ocboot and the target host (or use parameters such as
--key-file).
FAQ
No GPU listed or GPU not visible in the console after deployment?
- On the node, run
nvidia-smito confirm the driver works. - Confirm the driver and CUDA versions match.
- Confirm the host is enabled (Compute → Infrastructure → Hosts).
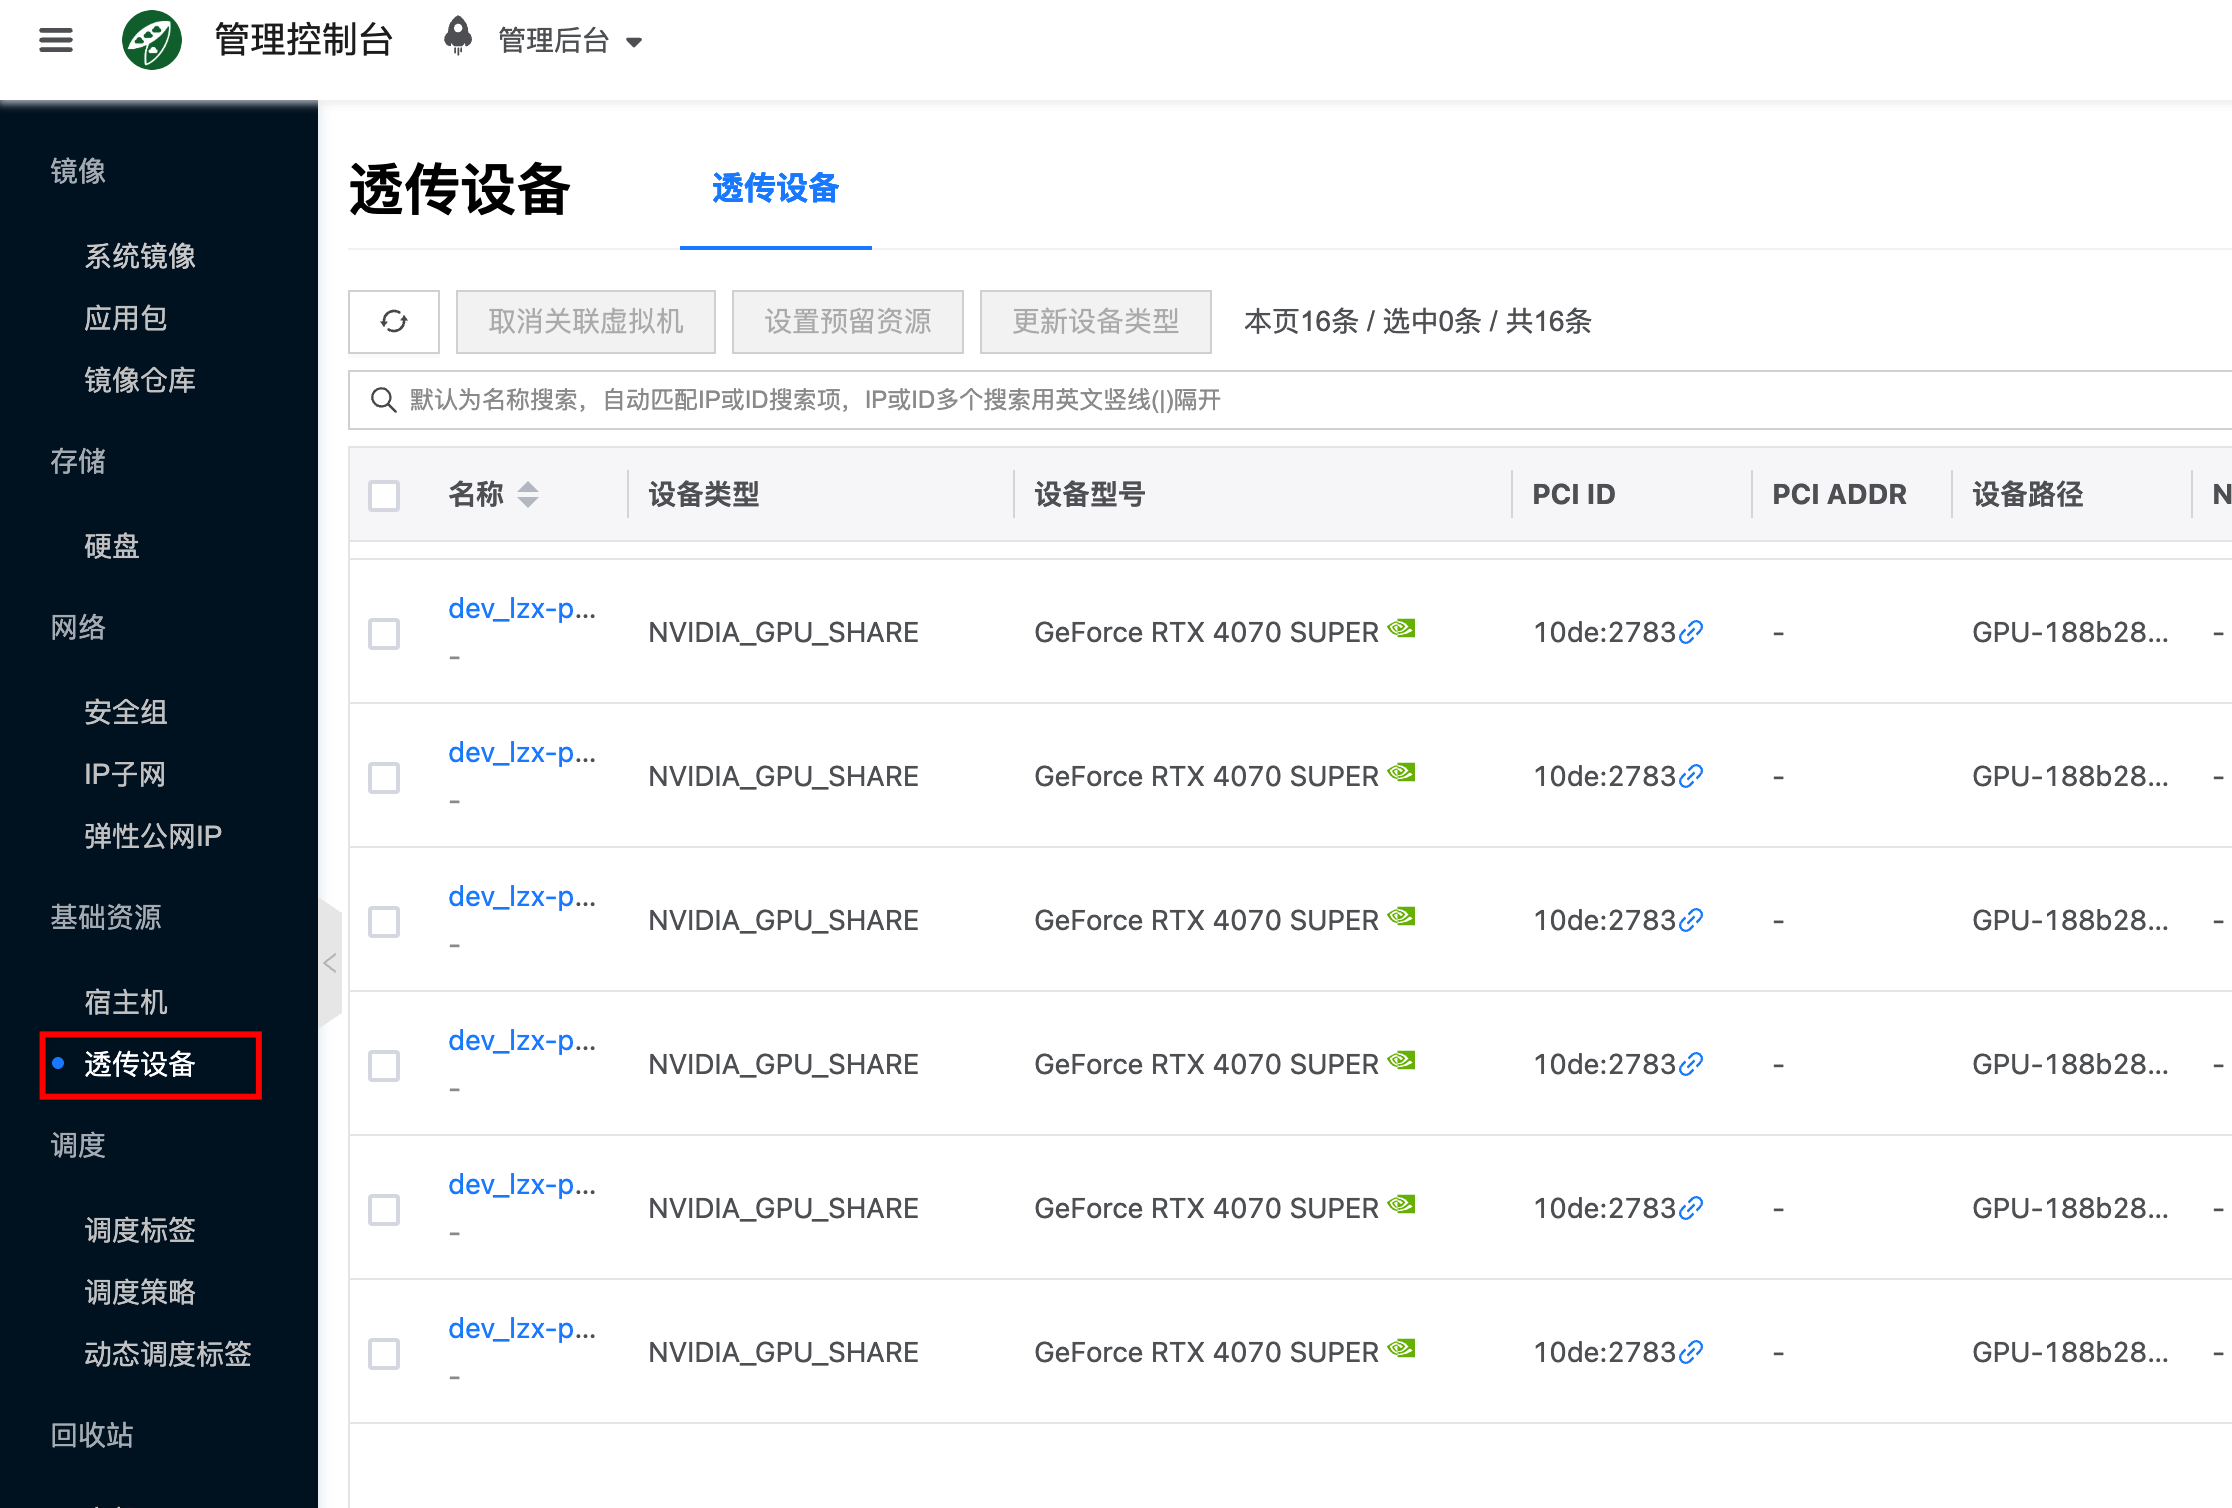
- Check Compute → Infrastructure → Passthrough Devices for reported GPUs.
- If needed, re-run the same
setup-ai-envcommand.
If you used run.py ai without --nvidia-driver-installer-path / --cuda-installer-path, install the driver and CUDA on the target first, or configure them with setup-ai-env as described in this document.
Is it normal for the target host to automatically reboot during installation?
Yes. ocboot usually reboots once after all install steps finish, to load the new driver or GRUB configuration. If nouveau is still using the GPU, it may also reboot once before installing the driver. Do not interrupt the process. If deployment is incomplete after reboot, re-run the same setup-ai-env command to continue.
How to check if the platform has GPUs available?
If configuration succeeds, go to Compute → Infrastructure → Passthrough Devices to see detected GPUs. When --gpu-device-virtual-number is omitted, the sharing mode is HAMI.