SSH Proxy Node
SSH proxy nodes are used to establish communication tunnels between the platform and VPC networks, enabling the platform to manage resources in VPCs, install monitoring Agents, collect monitoring data, etc.
By selecting a virtual machine in the VPC that can connect to the external network as an SSH proxy node, the platform can later install Agents for virtual machines with network connectivity in the VPC through the SSH proxy node's local forward. Monitoring information collected by monitoring Agents will also be reported to the platform through the SSH proxy node's remote forward.
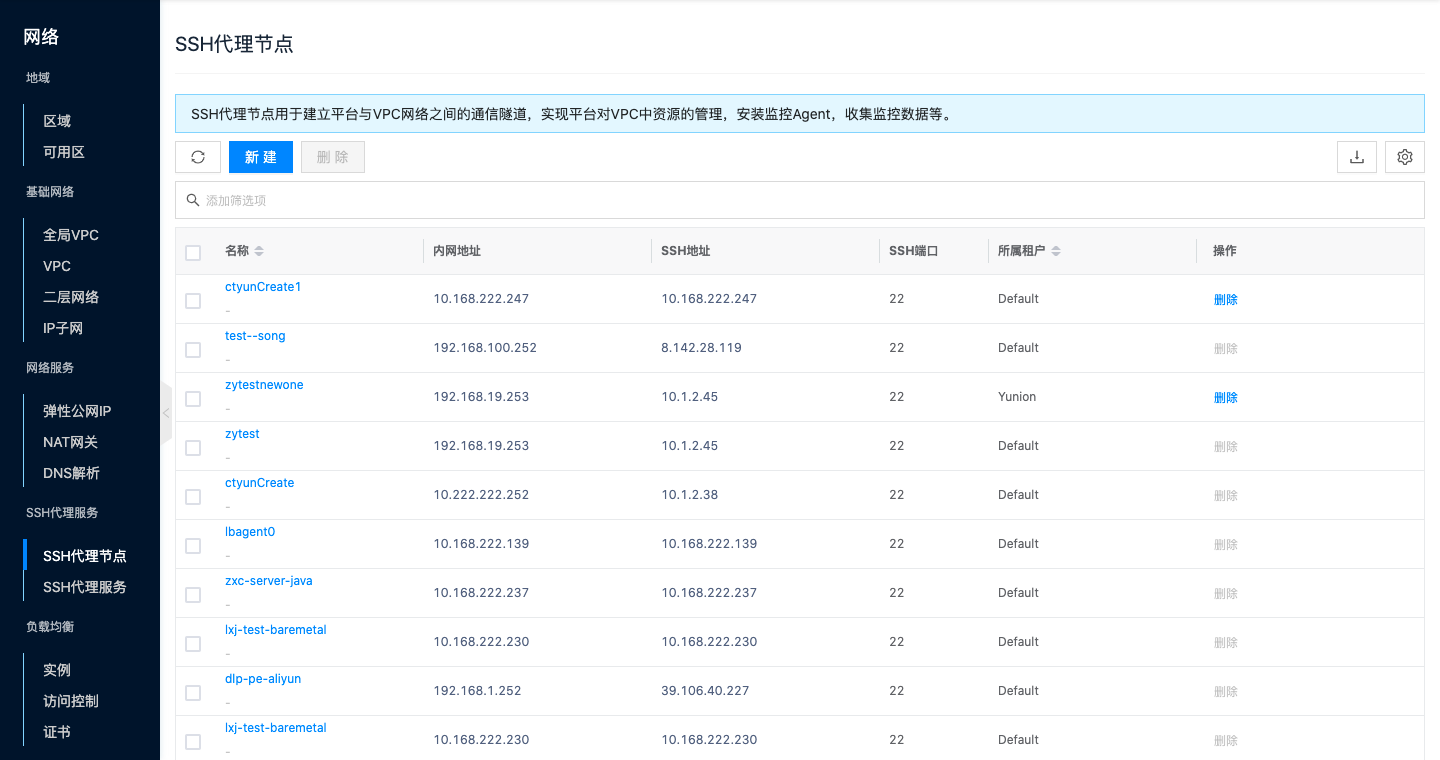
Entry: In the cloud management platform, click the navigation menu in the upper left corner, then click the "Network/SSH Proxy/SSH Proxy Node" menu item in the pop-up left menu bar to enter the SSH proxy node page.
Create SSH Proxy Node
This function is used to create a proxy node.
- On the SSH proxy node page, click the "New" button above the list to enter the create SSH proxy node page.
- On the select virtual machine page, set the following parameters:
- Domain: Set the domain to which the SSH proxy node belongs, and filter available virtual machines through domain.
- Name: Set the name of the SSH proxy node.
- Region: Filter VPCs through platform and region.
- Network: Filter virtual machines through VPC and network.
- Virtual Machine: Filter virtual machines that meet the conditions through the above filter conditions, and support searching for virtual machines by name and IP in the search box. Please ensure that the selected virtual machine meets the Virtual Machine Configuration Requirements. If there is no suitable virtual machine, you can click the "New" hyperlink to jump to the virtual machine list page to create a virtual machine that meets the requirements.
- After selecting the virtual machine, click the "Next" button to start detecting the virtual machine's password-free login status.
- If the virtual machine can log in without password, you can directly click the "OK" button to start creating the virtual machine.
- If the virtual machine cannot log in without password, please first click the "View" button in the operation column of the list to view the specific reason for the password-free login detection failure.
- If the error reason indicates "none publickey" or the SSH port is not the default port causing password-free login to fail, you can set the virtual machine to password-free login status through the set password-free login function. The password-free login method configuration parameters are as follows:
- SSH Port: Modify the virtual machine's SSH port, and password-free login to the virtual machine will be through this port.
- Setting Method: Supports key, password, script and other methods to upload the platform's public key to the virtual machine.
- When the setting method is "key", please use the root user or a user with sudo password-free permissions with their private key. Please ensure that you can connect to the corresponding virtual machine via SSH using the username and private key. Click the "OK" button to start setting and detecting whether the virtual machine's password-free login status becomes password-free login.
- When the setting method is "password", please use the root user or a user with sudo password-free permissions with their password. Please ensure that you can connect to the corresponding virtual machine via SSH using the username and password. Click the "OK" button to start setting and detecting whether the virtual machine's password-free login status becomes password-free login.
- When the setting method is "script", please use root or a user with sudo permissions to execute the following script in the virtual machine. After execution is complete, click the "OK" button to start setting and detecting whether the virtual machine's password-free login status becomes password-free login.
- If the error reason indicates "network error", you need to return to the previous step to select another virtual machine, or make the virtual machine network-accessible to the platform by binding EIP or NAT gateway, etc.
- If the error reason indicates "none publickey" or the SSH port is not the default port causing password-free login to fail, you can set the virtual machine to password-free login status through the set password-free login function. The password-free login method configuration parameters are as follows:
- Only when the virtual machine's password-free login status is "can log in without password" can you click the "OK" button to start creating the SSH proxy node.
- When creating the SSH proxy node, the virtual machine's sshd configuration will be checked to see if it meets the virtual machine configuration requirements. If it does not meet the requirements, the virtual machine's sshd configuration will be attempted to be changed. Therefore, creating the ssh proxy node may take a long time. If a timeout is prompted, please click the "OK" button again to create the SSH proxy node.
Virtual Machine Configuration Requirements
- Currently only supports Linux operating system virtual machines as SSH proxy nodes.
- Please ensure the virtual machine is in running state;
- Please ensure the virtual machine supports password-free login through the platform; For a virtual machine to be able to log in without password through the platform, the virtual machine must be network-accessible to the platform (i.e., make the virtual machine network-accessible to the platform through EIP, NAT gateway or SSH proxy, etc.) and the platform's public key file must exist in the virtual machine.
- Please check the virtual machine's sshd configuration. GatewayPorts is clientspecified. If this value is no, only binding to 127.0.0.1 address is allowed, making remote forward unable to work normally, causing virtual machines with monitoring Agents installed to be unable to report monitoring data to the platform, etc.
Modify Port
This function is used to modify the SSH port of the SSH proxy node.
Modify Port
- On the SSH proxy node page, click the "Modify Port" button in the operation column on the right side of the SSH proxy node to pop up the modify port dialog.
- Modify the SSH port, click the "OK" button to complete the operation.
Batch Modify Port
- Select one or more SSH proxy nodes in the SSH proxy node list, click the "Batch Operations" button above the list, select the "Modify Port" menu item from the dropdown menu to pop up the modify port dialog.
- Modify the SSH port, click the "OK" button to complete the operation.
Delete SSH Proxy Node
This function is used to delete SSH proxy nodes. When there are forwarding rules under the SSH proxy node, deletion is not allowed. Currently, the forwarding rules list is not yet available.
Single Delete
- On the SSH proxy node page, click the "Delete" button in the operation column on the right side of the SSH proxy node to pop up the operation confirmation dialog.
- Click the "OK" button to complete the operation.
Batch Delete
- Select one or more SSH proxy nodes in the SSH proxy node list, click the "Batch Operations" button above the list, select the "Delete" menu item from the dropdown menu to pop up the operation confirmation dialog.
- Click the "OK" button to complete the operation.
View SSH Proxy Node Details
This function is used to view detailed information of the SSH proxy node.
- In the SSH proxy node list, click the SSH proxy node name item to enter the SSH proxy node details page.
- View the following information, including cloud ID, ID, name, status, domain, project, internal address, SSH address, SSH port, creation time, update time, remarks, etc.
Scope Management
Scope represents the effective range of the SSH proxy node. After the SSH proxy node is successfully created, it is effective by default under the VPC and IP subnet where the virtual machine that created the SSH proxy node is located. When there is network isolation in the VPC, it is only effective under the IP subnet. When VPCs are connected, the SSH proxy node can be used in other VPCs through the associate network function. When IP subnets in a VPC are interconnected, only one SSH proxy node needs to exist in the VPC. If there is network isolation between different subnets in the VPC, an SSH proxy node needs to be set for different subnets respectively. When users submit forwarding requests, SSH proxy nodes under IP subnets are matched first. When they do not exist in IP subnets, SSH proxy nodes under VPCs are matched.
Associate Network
This function is used to add the effective scope of the SSH proxy node by associating networks. Before adding, please ensure that the network to be added is interconnected with the network where the proxy node is located. Otherwise, even if the network is added, it cannot take effect.
- In the SSH proxy node list, click the SSH proxy node name item to enter the SSH proxy node details page.
- Click the "Scope" tab to enter the scope page.
- Click the "Associate" button above the list to pop up the associate dialog.
- Configure the following parameters:
- Name: Set the network's name.
- Region: Select the region where the network is located.
- Type: Supports selecting VPC and IP subnet.
- VPC: Select the VPC where the network is located.
- IP Subnet: When type selects "IP subnet", you need to select the IP subnet where the network is located.
- Click the "OK" button to complete the operation.
Disassociate
This function is used to disassociate networks, that is, reduce the effective scope of the SSH proxy node.
Disassociate
- In the SSH proxy node list, click the SSH proxy node name item to enter the SSH proxy node details page.
- Click the "Scope" tab to enter the scope page.
- Click the "Disassociate" button in the operation column on the right side of the network to pop up the operation confirmation dialog.
- Click the "OK" button to complete the operation.
Batch Disassociate
- In the SSH proxy node list, click the SSH proxy node name item to enter the SSH proxy node details page.
- Click the "Scope" tab to enter the scope page.
- Select one or more networks in the list, click the "Disassociate" button above the list to pop up the operation confirmation dialog.
- Click the "OK" button to complete the operation.
View Operation Logs
This function is used to view log information of operations related to the SSH proxy node
- In the SSH proxy node list, click the SSH proxy node name item to enter the SSH proxy node details page.
- Click the "Operation Logs" tab to enter the operation logs page.
- Load more logs: The list displays 20 operation log entries by default. If you need to view more operation logs, click the "Load More" button to get more log information.
- View log details: Click the "View" button in the operation column on the right side of the operation log to view the log's detailed information. Supports copying detail content.
- View logs for a time period: If you need to view operation logs for a certain time period, set specific dates in the start date and end date in the upper right corner of the list to query log information for that time period.
- Export logs: Currently only supports exporting logs displayed on this page. Click the download icon in the upper right corner, set the export data columns in the pop-up export data dialog, click the "OK" button to export logs.