Robot Management
Robots are used to receive monitoring and budget alert messages. Currently supports DingTalk robots, Feishu robots, Enterprise WeChat robots, and Webhooks. Among them, Webhooks are used to send resource add, delete, modify, and query messages on the platform to specific URLs.
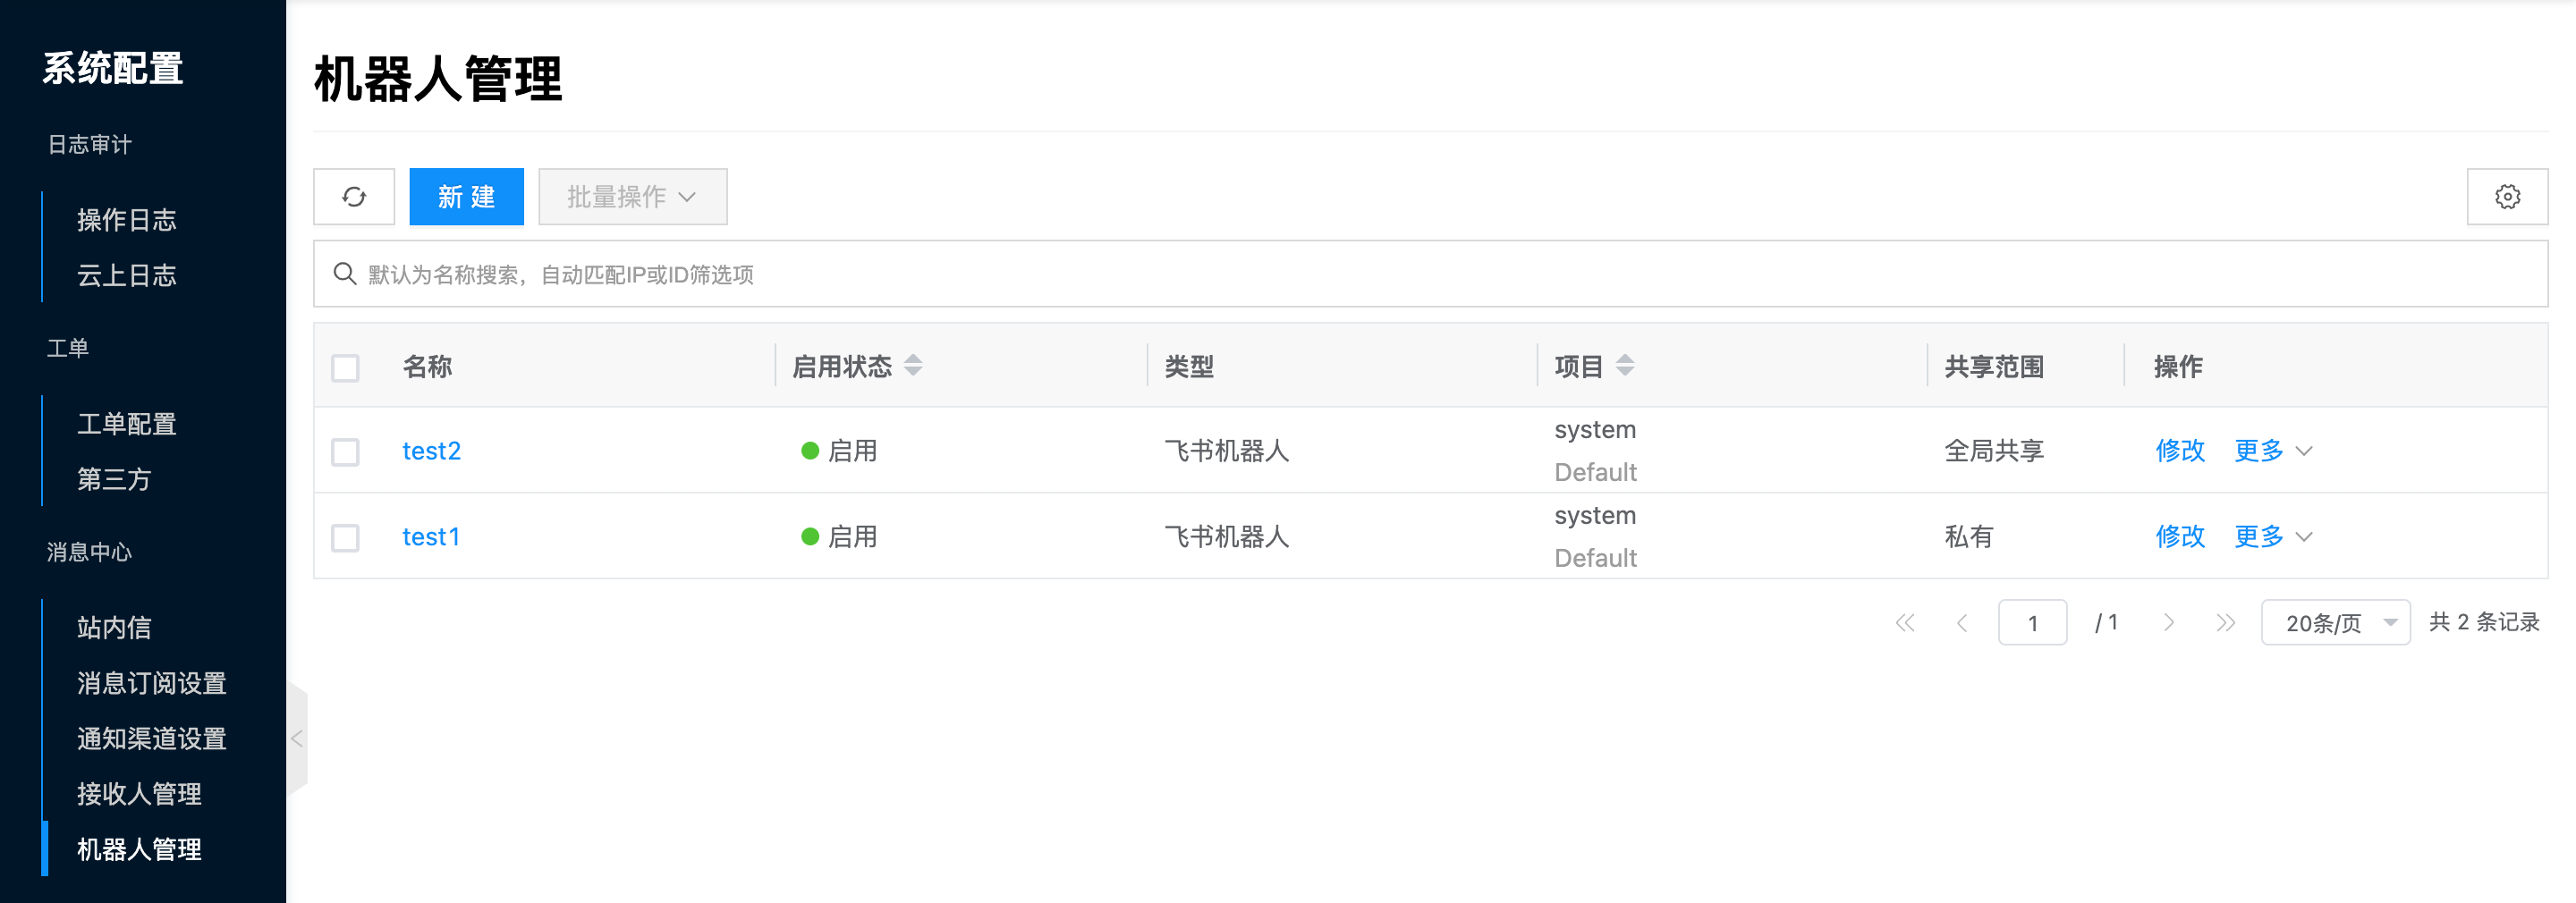
Entry: In the cloud management platform, click the navigation menu in the upper left corner, and click the "System Configuration/Message Center/Robot Management" menu item in the pop-up left menu bar to enter the robot management page.
Create Robot
This function is used to add robots.
- On the robot management page, click the "Create" button above the list to pop up the create robot dialog.
- Configure the following information:
- Specify Project: Specify the project to which the robot belongs.
- Name: Set the robot's name.
- Type: Supports DingTalk robot, Feishu robot, Enterprise WeChat robot, and Webhook.
- Webhook: Configure the corresponding robot's Webhook address. For how to obtain Webhooks for different types of robots, please refer to Webhook Obtaining Methods.
- Click the "OK" button to complete the operation.
Webhook Obtaining Methods
DingTalk Robot
- Create a DingTalk group or select an existing DingTalk group in the DingTalk desktop client.
- Add a custom robot in the group settings - Smart Group Assistant in the upper right corner of the DingTalk group.
- Set the robot name, add it to the corresponding group, and check IP address (segment) in security settings, add the cloud platform's external access IP to the IP address segment.
- After adding successfully, obtain the robot Webhook address.
- If using signature method, assuming the signature is SECac9a8260ab0ad590a7d40fa80d97eaab14e34c958025de40c38c4e2d3313b29b, you need to add &sign=SECac9a8260ab0ad590a7d40fa80d97eaab14e34c958025de40c38c4e2d3313b29b after the webhook address, for example: https://oapi.dingtalk.com/robot/send?access_token=ae8ec5b57bae00b2db0efdbdd1cccc9016c0c58ee15520e06f8b06a43589f60d&sign=SECac9a8260ab0ad590a7d40fa80d97eaab14e34c958025de40c38c4e2d3313b29b
Feishu Robot
- Create a Feishu group or select an existing Feishu group in the Feishu desktop client.
- Add a Custom Bot robot in Feishu group settings - Group Robot on the right side.
- After adding successfully, obtain the robot Webhook address.
Enterprise WeChat Robot
- Create an Enterprise WeChat group or select an existing Enterprise WeChat group in the Enterprise WeChat client.
- Add a custom robot in the group settings - Smart Group Assistant in the upper right corner of the Enterprise WeChat group.
- After adding successfully, obtain the robot Webhook address.
Webhook Robot
- In addition to the above three types of robots, other types of robots can also be accessed through Webhook.
- Obtain the following parameters on the corresponding platform:
- URL: Robot's Webhook address.
- header: Additional request headers for the robot's Webhook.
- body: Additional request body for the robot's Webhook.
- msg_key: Robot's Webhook message key.
Modify Robot
This function is used to modify robot information.
- On the robot management page, click the "Modify" button in the operation column on the right side of the robot to pop up the modify robot dialog.
- Only supports modifying name and Webhook.
- After modification is complete, click the "OK" button to complete the operation.
Set Sharing
This function is used to set the sharing status of robots.
Project resources have five sharing scopes:
- Not Shared (Private): Project resources can only be used by users in this project.
- Project Sharing - Partial (Multi-Project Sharing within Domain): Project resources can be shared to specified projects (one or more) in the same domain. Only users in this project and shared projects can use project resources.
- Project Sharing - All (Domain Sharing): Project resources can be shared to all projects in the domain, meaning users in the domain where the project is located can use project resources.
- Domain Sharing - Partial (Multi-Domain Sharing): Project resources can be shared to specified domains (one or more). Only users in the domain where project resources are located and shared domains can use project resources.
- Domain Sharing - All (Global Sharing): Project resources can be shared to all domains, meaning all users in the system can use project resources.
Conditions for setting domain sharing:
- Three-level permissions have been enabled on the platform.
- User is in the management console.
Conditions for setting project sharing:
- User is in the management console or domain management console.
- Robots of physical machine, PXE, IPMI types are recommended not to be set to shared status.
- Robots of local IDC can have any sharing scope.
- Sharing scope of robots for private cloud and public cloud is related to the sharing scope of cloud accounts.
- When cloud account is not shared, resources synced from the cloud account cannot be shared.
- When cloud account enables sharing, resources synced from the cloud account will also enable sharing with the cloud account.
- When cloud account enables sharing, sharing scope of resources synced from the cloud account can be changed. Please ensure the sharing scope is within the cloud account's sharing scope.
- When cloud account modifies sharing scope, sharing scope of resources synced from the cloud account must always remain within the cloud account's sharing scope. For example, if cloud account shares domains A, B, C, D, and domain resources share domains A, C, and cloud account modifies sharing scope to domains A, B, then domain resources can only be shared to domain A.
- When cloud account shares cloud subscription, domain resources synced from the cloud account cannot be shared.
Single Robot Set Sharing
- On the robot management page, click the "More" button in the operation column on the right side of the robot, select the "Set Sharing" menu item from the dropdown menu to pop up the set sharing dialog.
- Configure the following parameters.
- When sharing scope is selected as "Not Shared", the sharing scope of project resources is private, only users in this project can use.
- When sharing scope is selected as "Project Sharing", you need to select projects in the same domain that can be shared.
- When projects select one or more projects in the same domain, the sharing scope of project resources is Project Sharing - Partial. Only users in the project where project resources are located and shared projects can use project resources.
- When projects select all, the sharing scope of project resources is Project Sharing - All. Users in the domain where the project is located can use project resources.
- When sharing scope is selected as "Domain Sharing", you need to select domains to share.
- When domains select one or more domains, the sharing scope of project resources is Domain Sharing - Partial. Only users in the domain where project resources are located and shared domains can use domain resources.
- When domains select all, the sharing scope of project resources is Domain Sharing - All. All users in the system can use project resources.
- Click the "OK" button to complete the operation.
Batch Set Sharing
The sharing scope set in batch for multiple robots must be the same. Otherwise, please set sharing for robots individually.
- Select one or more robots in the robot list, click the "Batch Operations" button above the list, select the "Set Sharing" menu item from the dropdown menu to pop up the set sharing dialog.
- Configure the following parameters.
- When sharing scope is selected as "Not Shared", the sharing scope of project resources is private, only users in this project can use.
- When sharing scope is selected as "Project Sharing", you need to select projects in the same domain that can be shared.
- When projects select one or more projects in the same domain, the sharing scope of project resources is Project Sharing - Partial. Only users in the project where project resources are located and shared projects can use project resources.
- When projects select all, the sharing scope of project resources is Project Sharing - All. Users in the domain where the project is located can use project resources.
- When sharing scope is selected as "Domain Sharing", you need to select domains to share.
- When domains select one or more domains, the sharing scope of project resources is Domain Sharing - Partial. Only users in the domain where project resources are located and shared domains can use domain resources.
- When domains select all, the sharing scope of project resources is Domain Sharing - All. All users in the system can use project resources.
- Click the "OK" button to complete the operation.
Change Project
This function is used to change the project to which the robot belongs. When the robot is in private state, the project can be changed.
Single Robot Change Project
- On the robot management page, click the "More" button in the operation column on the right side of the robot, select the "Change Project" menu item from the dropdown menu to pop up the change project dialog.
- Modify domain and project, click the "OK" button.
Batch Change Project
- Select one or more robots in the robot list, click the "Batch Operations" button above the list, select the "Change Project" menu item from the dropdown menu to pop up the change project dialog.
- Modify domain and project, click the "OK" button.
Enable
This function is used to enable robots in "Disabled" state. Robots in disabled state will not receive alert messages.
Single Enable
- On the robot management page, click the "More" button in the operation column on the right side of the robot in "Disabled" state, select the "Enable" menu item from the dropdown menu to pop up the operation confirmation dialog.
- Click the "OK" button to enable the robot.
Batch Enable
- Select one or more robots in the robot list, click the "Batch Operations" button above the list, select the "Enable" menu item from the dropdown menu to pop up the operation confirmation dialog.
- Click the "OK" button to enable the robots.
Disable
This function is used to disable robots in "Enabled" state. Robots in disabled state will not receive alert messages.
Single Disable
- On the robot management page, click the "More" button in the operation column on the right side of the robot in "Enabled" state, select the "Disable" menu item from the dropdown menu to pop up the operation confirmation dialog.
- Click the "OK" button to disable the robot.
Batch Disable
- Select one or more robots in the robot list, click the "Batch Operations" button above the list, select the "Disable" menu item from the dropdown menu to pop up the operation confirmation dialog.
- Click the "OK" button to disable the robots.
Delete
This function is used to delete robots.
Single Delete
- On the robot management page, click the "More" button in the operation column on the right side of the robot, select the "Delete" menu item from the dropdown menu to pop up the operation confirmation dialog.
- Click the "OK" button to complete the operation.
Batch Delete
- Select one or more robots in the robot list, click the "Batch Operations" button above the list, select the "Delete" menu item from the dropdown menu to pop up the operation confirmation dialog.
- Click the "OK" button to complete the operation.
View Robot Details
This function is used to view detailed information about robots.
- On the robot management page, click the robot name item to enter the robot details page.
- View robot cloud ID, ID, name, status, domain, project, sharing scope, enable status, type, Webhook/URL, creation time, update time, remarks, etc.
View Operation Logs
This function is used to view operation log information related to robots.
- On the robot management page, click the robot name item to enter the robot details page.
- Click the "Operation Logs" tab to enter the operation logs page.
- Load More Logs: The list displays 20 operation log entries by default. To view more operation logs, click the "Load More" button to get more log information.
- View Log Details: Click the "View" button in the operation column on the right side of the operation log to view the log's detailed information. Supports copying detail content.
- View Logs for a Specific Time Period: To view operation logs for a certain time period, set specific dates in the start date and end date in the upper right corner of the list to query log information for the specified time period.
- Export Logs: Currently only supports exporting logs displayed on this page. Click the download icon in the upper right corner, set the export data columns in the pop-up export data dialog, click the "OK" button to export logs.